
Since the gyms are still closed in most of the German federal states – if I am on the right level of information, only North Rhine-Westphalia is an exception – I would like to write today about push-ups. Yes, the focus here is on the upper body, but in the end push-ups, if you do them right, are a full-body exercise that you can do wonderfully at home or outdoors, just in one or two sets or even integrated into another workout or running session.
Basis
If you already know hover and plank and perform them in a technically correct way, you have the best prerequisites to do effective push-ups. Because the plank is our starting point for the push-up and, in the same way as there, a firm abdomen is absolutely crucial for performing a push-up cleanly. (It is precisely for this reason that push-ups can also be regarded as a full-body exercise). So our body forms a long, straight line all the time, we don’t let our head drop (long, straight neck), we don’t make a hollow back or a hump, we don’t push our hips up (as with a tent). We make sure of this by tightening our belly, booty and legs (the focus is on the back of the legs) – this way we also do something for our sexy bottom – and by making ourselves very long. 🙂
Got it? So let’s go:
Tricep push-up: The correct execution
Most athletes often do chest push-ups, while tricep push-ups are new territory for many. With Bodyattack on the other hand these always play a very big role, so I will begin with them.
With tricep push-ups the training focus – apart from the basics listed above – is on the back of the arms. That’s why this type of push-up is so great for making our arms firm and well defined.
In tricep push-up we start exactly in the plank position, i.e. our hands are just below the shoulders, the fingertips point exactly forward and the elbows backwards.
Now we bend the elbows and pull them straight back towards the hips (so they don’t go to the side!), the arms remain close to the body at all times. As a little help: Try to feel your shirt on your upper arms. Important when going down: We don’t just let ourselves fall, we actively pull ourselves towards the ground – this activates the muscles much more than if we just “slow down the fall”.
The range: We want to lower the chest at least to elbow level – that means our elbows are bent at an acute angle of 45° (whoever likes to may of course go deeper) – before we come out of pulling into pushing and now thrust ourselves upwards again. We actively press the palms of our hands into the ground to activate the triceps even more.

Tricep push-up from the side: pull the elbows back 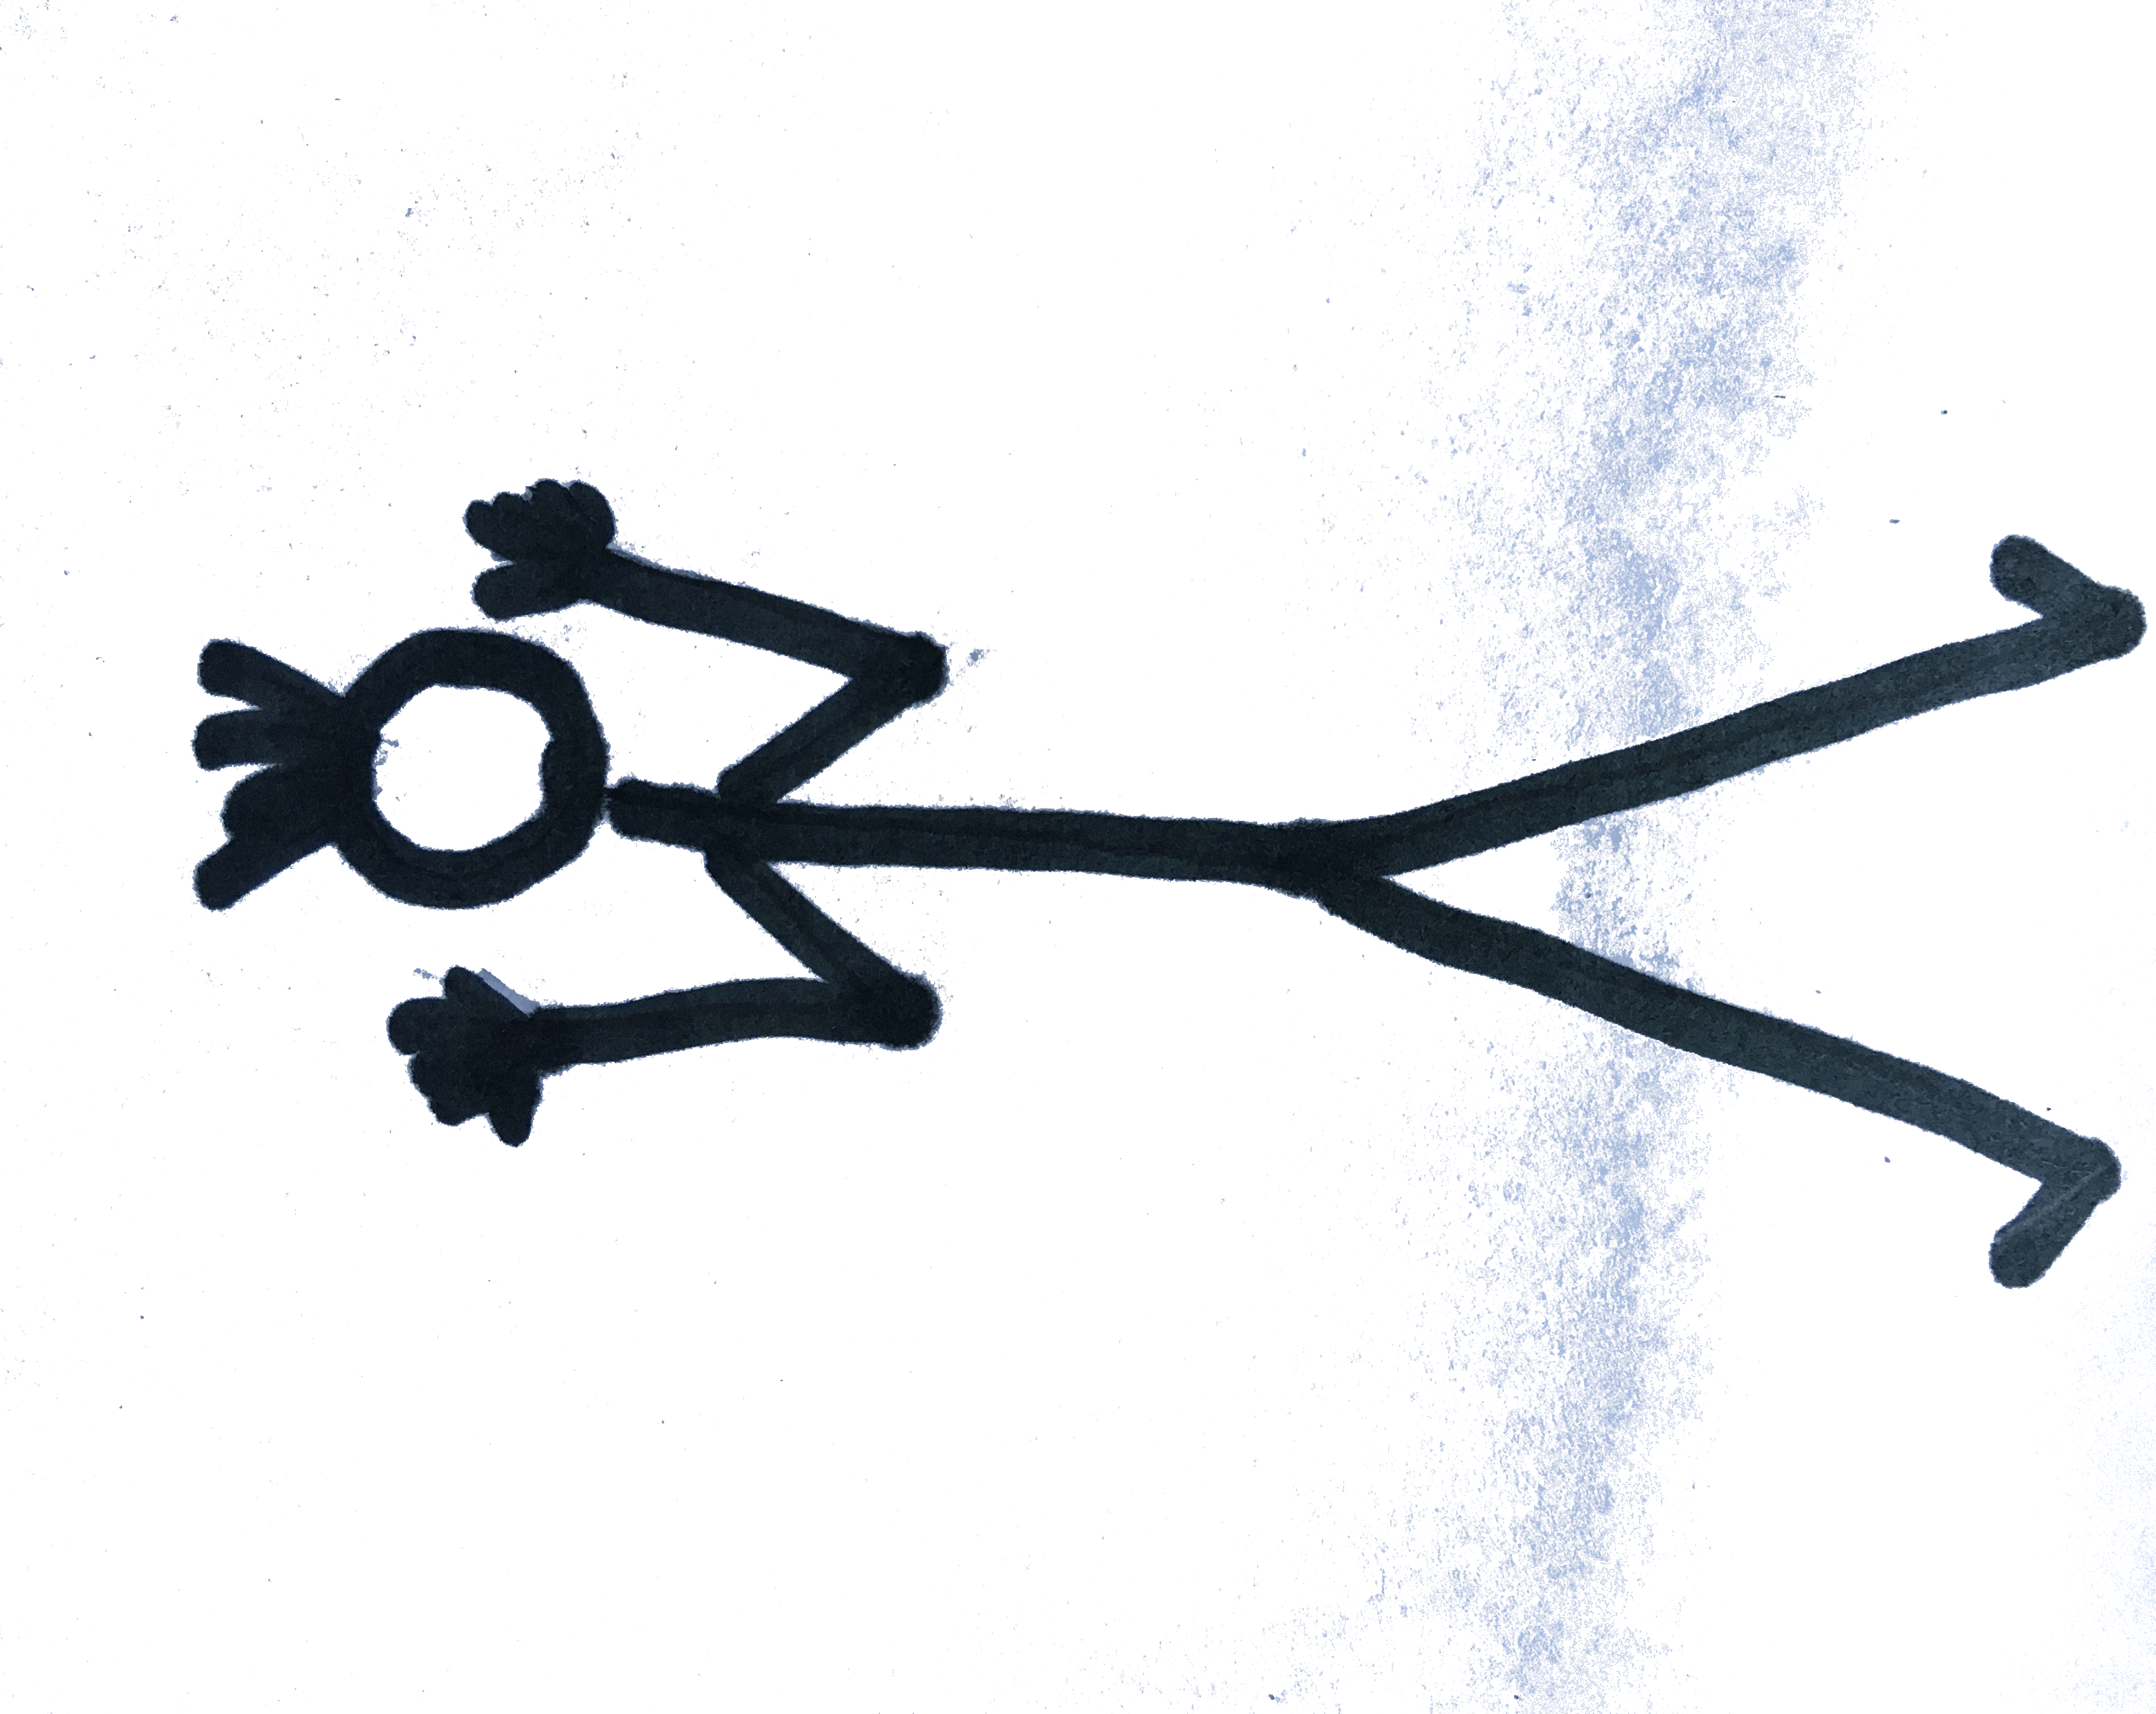
Tricep push-up from above: hands under the shoulders and elbows close to the body
You will see that tricep push-ups are much more strenuous than chest push-ups where the pectoral muscle helps.
Chest push-up: The correct execution
The technique is the same as the tricep push-up, but we start from a different starting position, which also changes the movement somewhat.
This time the hands are in line with the shoulders (i.e. not further forward at head level or further back at chest level), but they are further apart, not directly below the shoulders. This causes the elbows, when we bend them now, to pull outwards instead of backwards. Imagine you have strings attached to your elbows: Instead of pulling them backwards like above, these threads are now pulled outwards, straight to the side.
When we now reach our target range (elbow at chest height), we have an angle of about 90° in our elbow.
As above, we now go from active dragging to active pushing in order to return to the starting position.
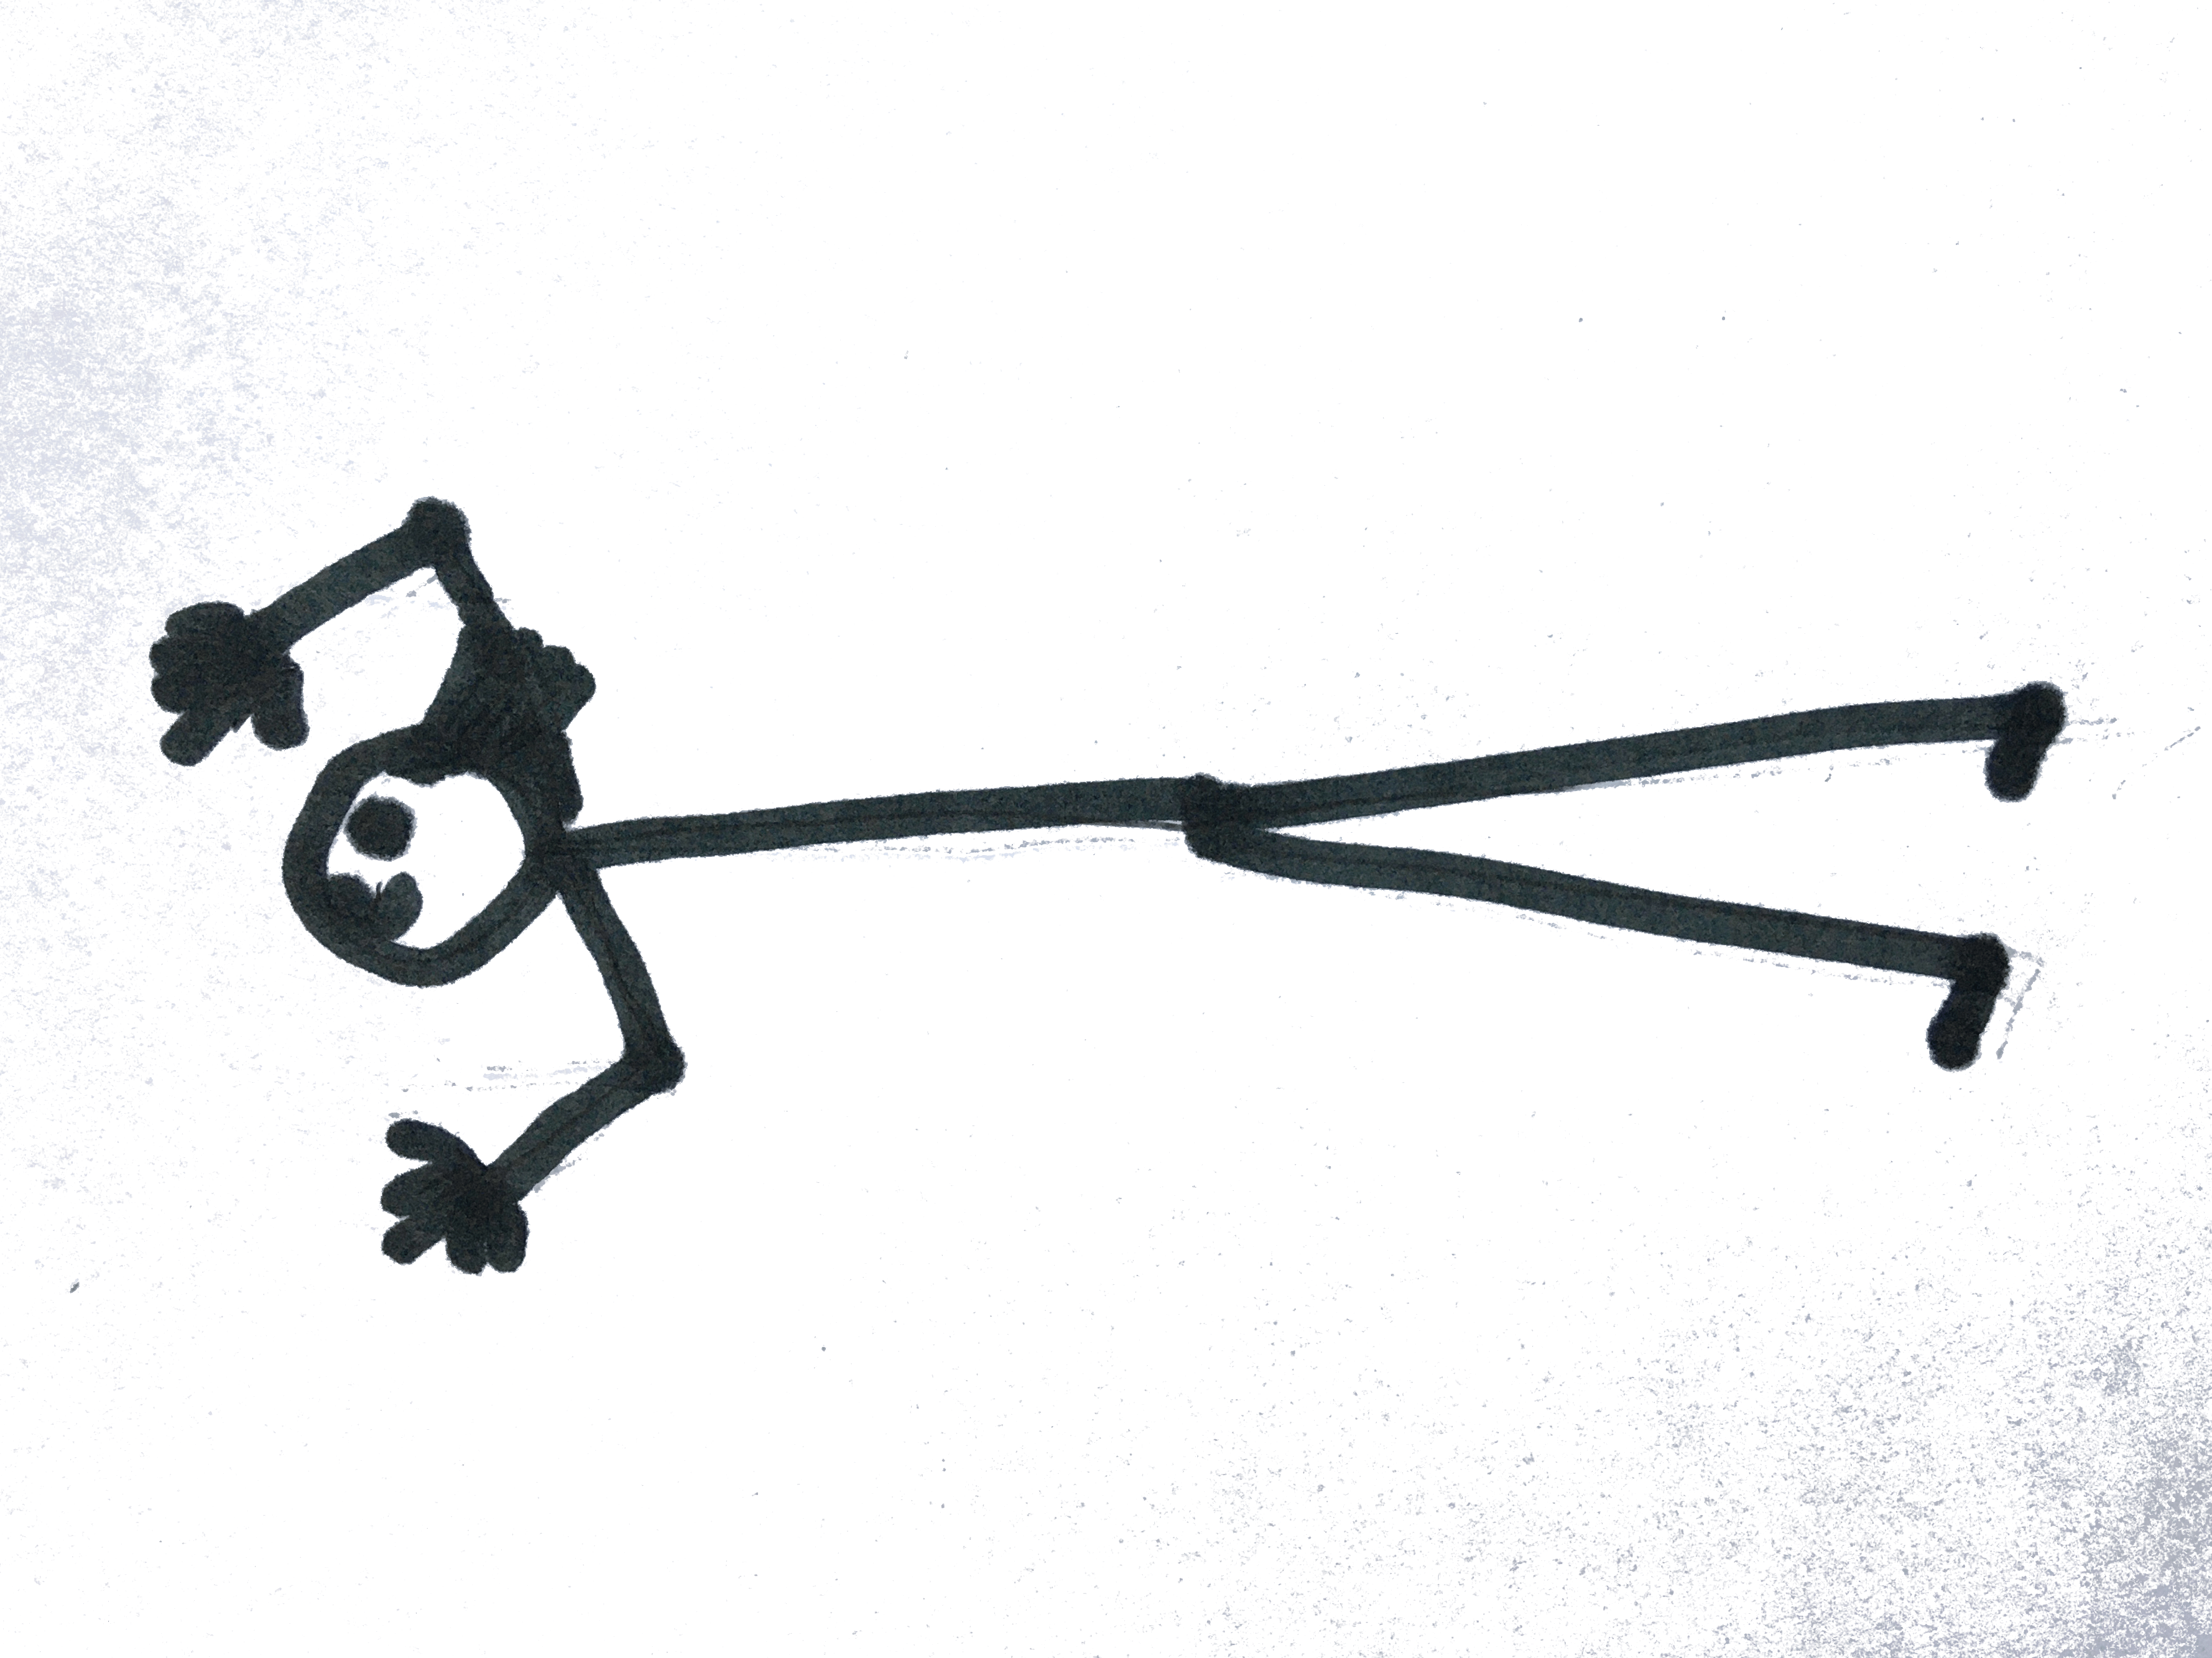
Chest push-up from the side: pull elbows to the side 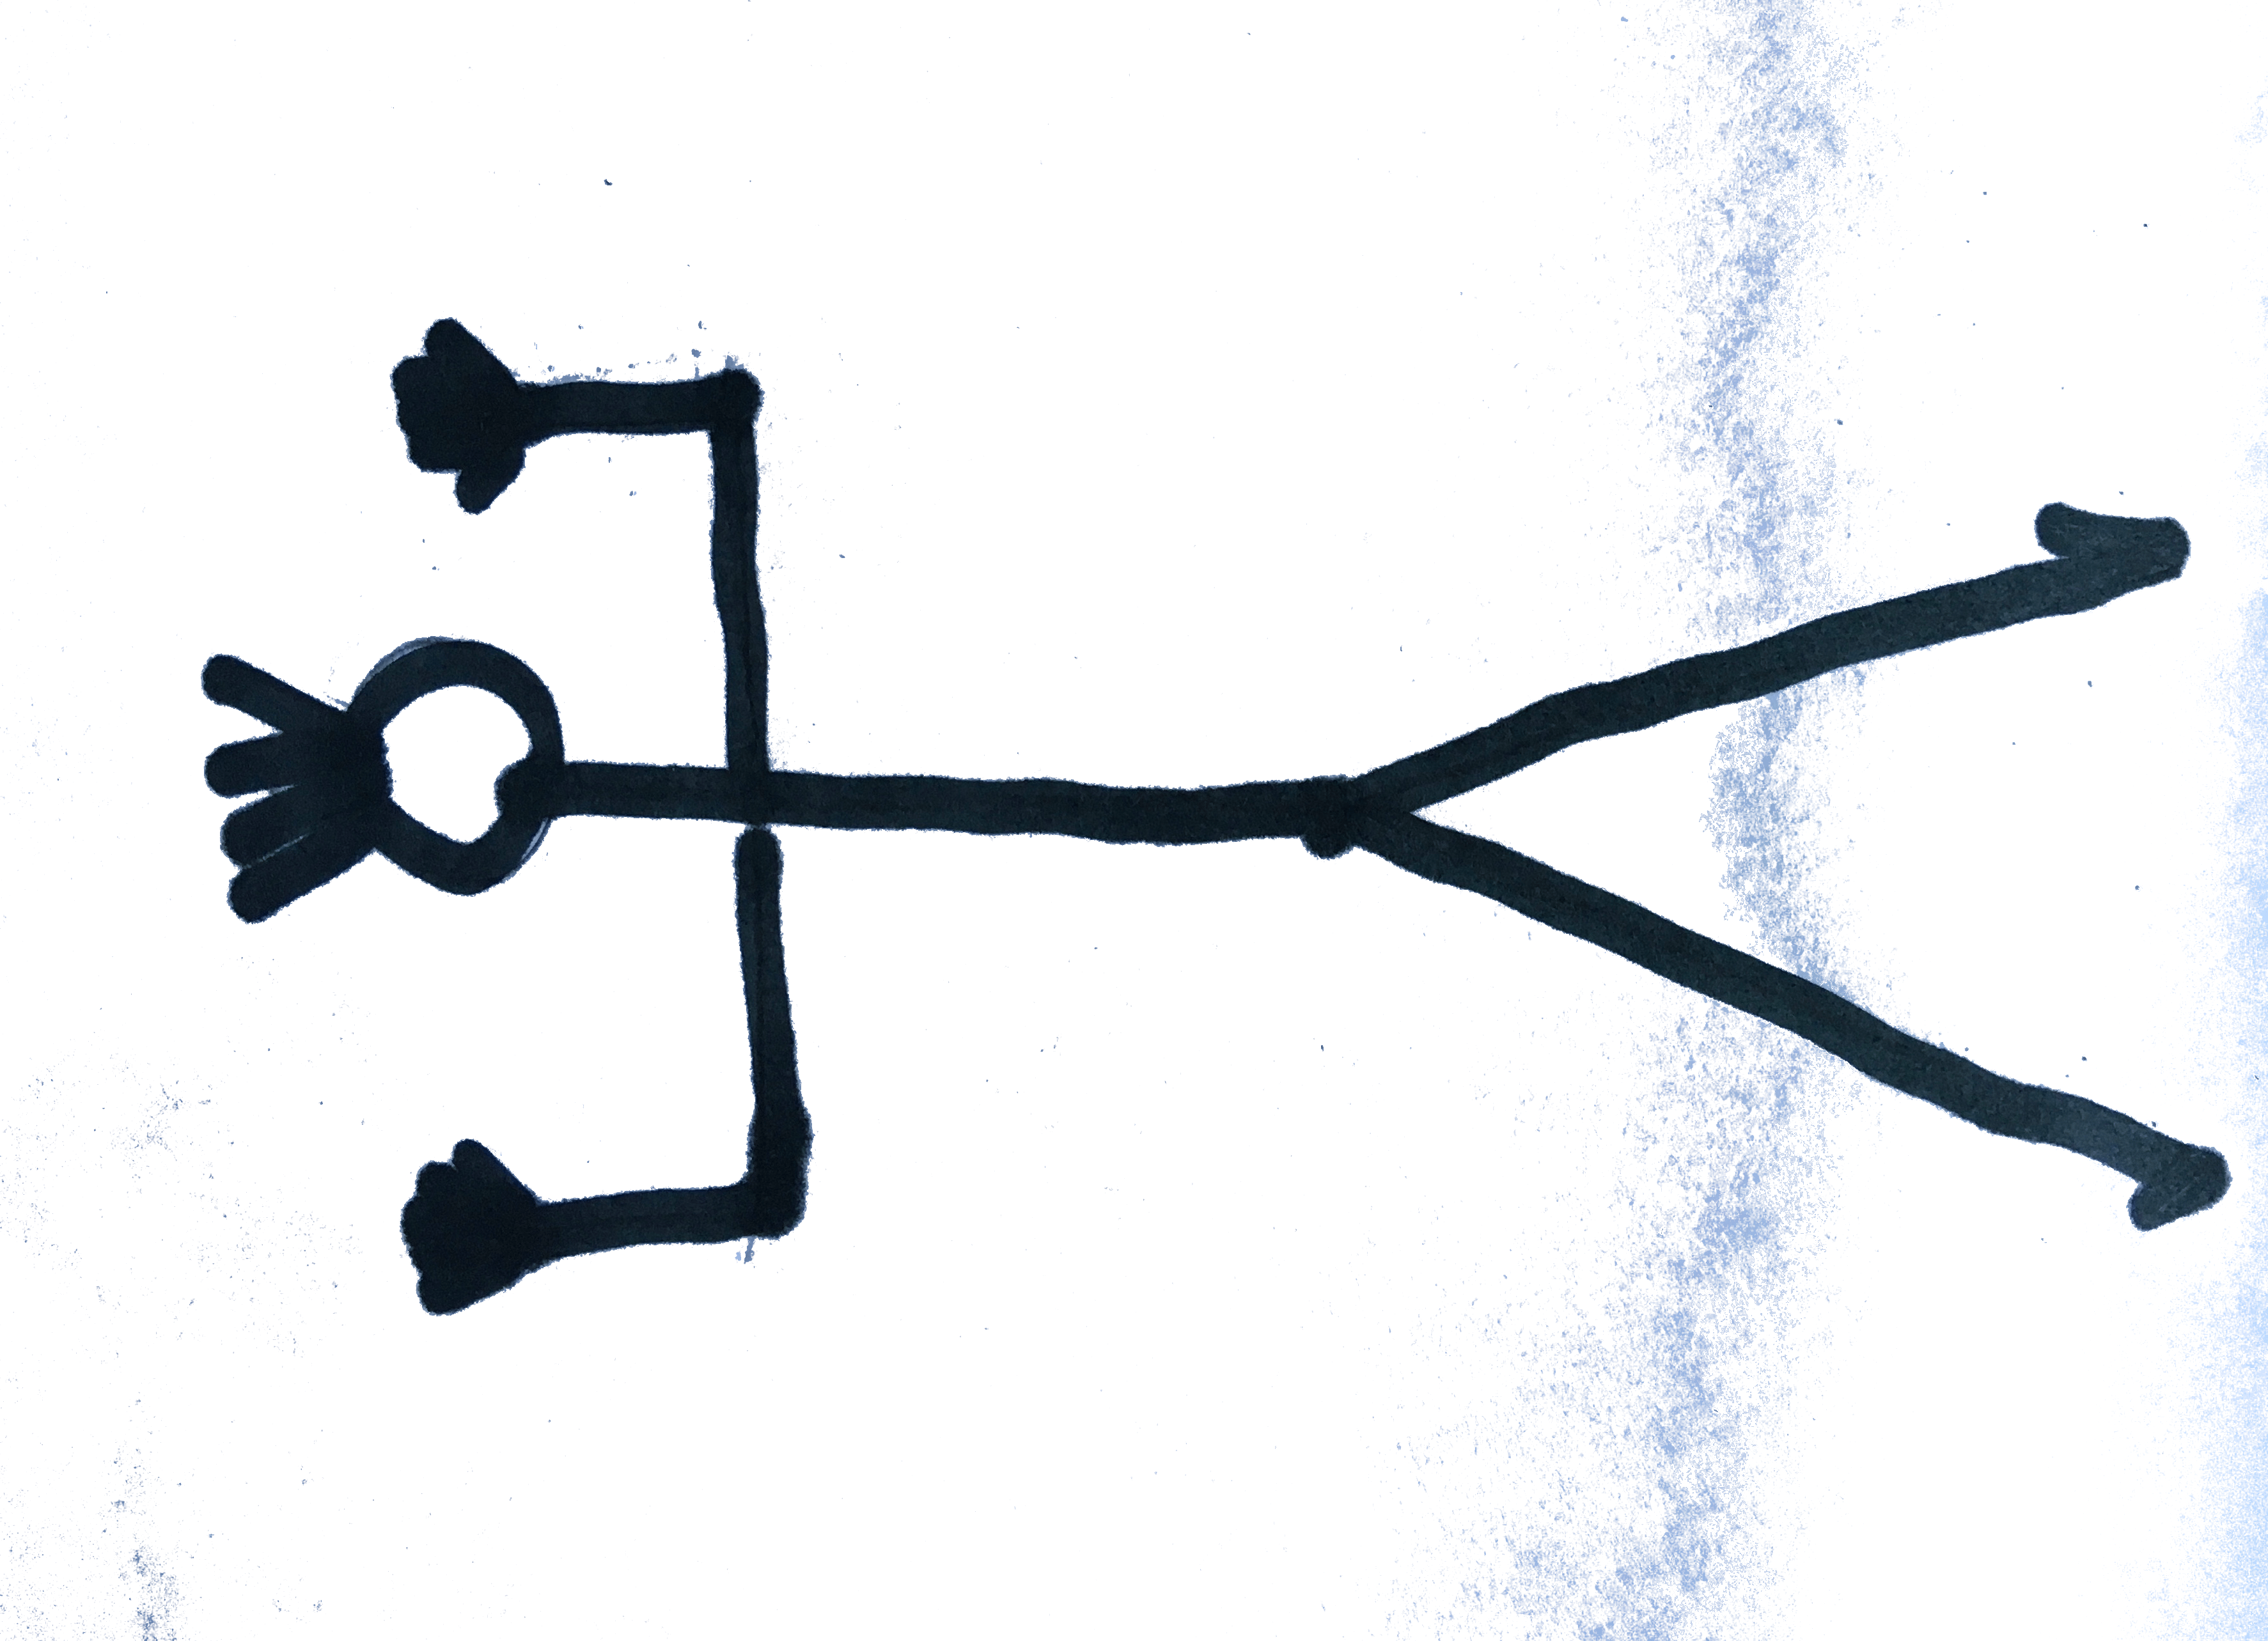
Chest push-up from above: hands and elbows wide
Variations
With variants of the push-up, the main aim is to make it easier or harder. All variations are applicable to both types of push-ups – tricep and chest push-ups:
- Beginners: In your plank position drop the knees and do the push-ups on the knees. You can also take the knees further forward (below the hip) – the more the knees come forward, the smaller the lever becomes and the easier the push-up will be. But make sure that the hands still remain below or in line with the shoulders.
- Beginners: By raising your hands (on a platform, step, etc.), you shorten the path.
- In the opposite direction, advanced students can increase the level of difficulty by placing their feet on a bench or stairs. More weight is then placed on the upper body.
- Advanced athletes can also do push-ups on the fingertips.
- Other variations that can be performed on the knees as well as on the toes:
- Half push-ups, so-called “pulses”: half way from the bottom or half way from the top. In the lower half it becomes of course much more difficult because the arm is never stretched and therefore the muscle always remains under tension.
- Pulses (or singles) in combination with jumping jacks: For example, do six half (or three single) push-ups and then, from the plank position (when the arms are stretched out), jump two or three times with the feet wide and back together again (like a lying jumping jack). The hips should not bounce up and down, but should remain still and at shoulder level – so tense the booty and abs tightly here!
- Tripod push-ups: Both arms and one foot or knee are on the ground, the second foot is in the air (leg stretched out, knee and foot at hip level, abs and booty tightened).
Or: Do one-armed push-ups – like really hardcore FIIIIIIBEEER heroes. 😀
Then subscribe to our blog updates via the sidebar (in the mobile version via the + sign). If you also want to be able to comment on our posts, just register here.